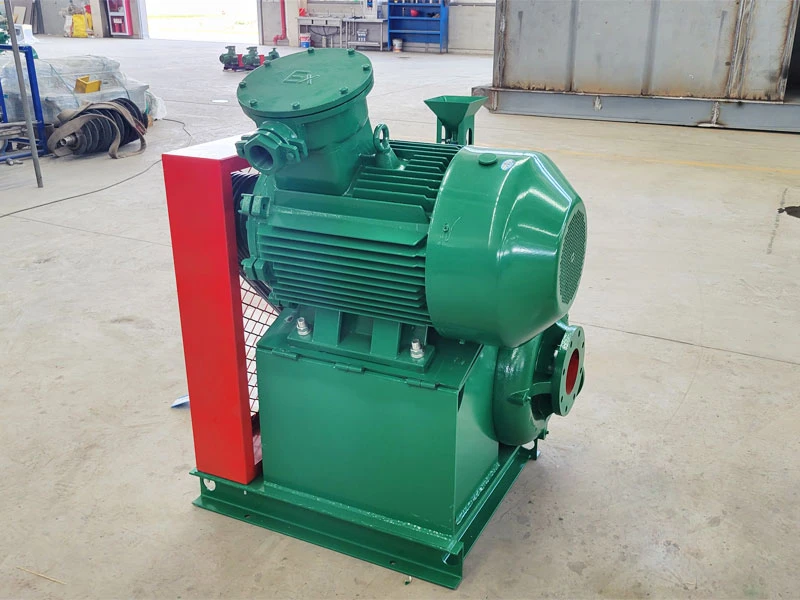
A Bomba de missão é normalmente utilizada para drenagem, lamas e transporte de areia. O impulsor é um componente essencial, com impacto direto no desempenho e na eficiência da bomba. A remoção correta do impulsor é crucial para a manutenção e reparação de bombas de areia. A seguir, descreve-se como remover um impulsor de uma bomba Mission, permitindo que os operadores o removam e substituam corretamente quando necessário.
1. Medidas de segurança
Antes de efetuar qualquer trabalho de reparação ou desmontagem de equipamento mecânico, certifique-se de que os regulamentos de segurança relevantes são cumpridos. Usar o equipamento de segurança necessário, incluindo capacete, luvas e óculos de proteção, e assegurar uma ventilação adequada no local de trabalho para evitar acidentes provocados pela presença de gases tóxicos.
2. Desligue a fonte de alimentação e o sistema hidráulico
Antes de remover o impulsor da bomba de areia, certifique-se de que desliga a fonte de alimentação e o sistema hidráulico para evitar ferimentos provocados por um arranque acidental. Se o bomba de areia for elétrico, desligue a fonte de alimentação; se for acionado hidraulicamente, desligue o sistema hidráulico.
3. Retirar os tubos de entrada e de saída
Antes de remover o impulsor, remova os tubos de entrada e saída ligados à bomba de areia para permitir um melhor acesso aos componentes do impulsor. Utilize ferramentas adequadas para retirar os parafusos de ligação dos tubos, certificando-se de que os tubos não são danificados.
4. Retire a porca do impulsor
Normalmente, existe uma porca de retenção no centro do impulsor que o fixa ao eixo da bomba. Utilize uma chave inglesa ou outra ferramenta adequada para desapertar a porca no sentido contrário ao dos ponteiros do relógio. Peça a um assistente para segurar o impulsor enquanto solta a porca para evitar que ele gire e cause danos.
5. Retirar o impulsor
Quando a porca estiver completamente desapertada, retire cuidadosamente o impulsor do eixo da bomba. Se existirem quaisquer fixadores (como pinos) a prender o impulsor ao eixo da bomba, retire-os cuidadosamente. Ao remover o impulsor, tenha cuidado para não usar força excessiva para evitar danificar o impulsor ou o eixo da bomba.
6. Inspecionar e limpar
O impulsor removido necessita de ser inspeccionado e limpo. Inspeccione o impulsor para verificar se existem sinais de desgaste, corrosão ou fissuras. Se houver algum, substitua-o imediatamente. Além disso, limpe o interior e o exterior do impulsor para garantir que não existem impurezas ou depósitos. Isto prolongará a vida útil do impulsor.
7. Instalar um novo impulsor
Se o impulsor precisar de ser substituído, siga estes passos na ordem inversa para instalar o novo impulsor. Primeiro, coloque o impulsor no eixo da bomba e fixe-o com a porca. Ao apertar a porca, certifique-se de que o impulsor está alinhado com o eixo da bomba sem qualquer desalinhamento. De seguida, reinstale os tubos de entrada e de saída, certificando-se de que estão bem ligados.
8. Teste do sistema
Depois de substituir o impulsor, volte a ligar a alimentação eléctrica e o sistema hidráulico. Ligue a bomba de missão e observe o seu funcionamento. Certifique-se de que não existem sons ou vibrações anormais e de que a drenagem e o desempenho do transporte são normais.
Com os passos acima descritos, a remoção e a substituição do Impulsor da bomba de missão está agora concluída. Durante esta operação, tenha muito cuidado, garanta a segurança pessoal e siga os procedimentos operacionais relevantes para evitar danos no equipamento ou ferimentos pessoais.

 Conversar com o engenheiro